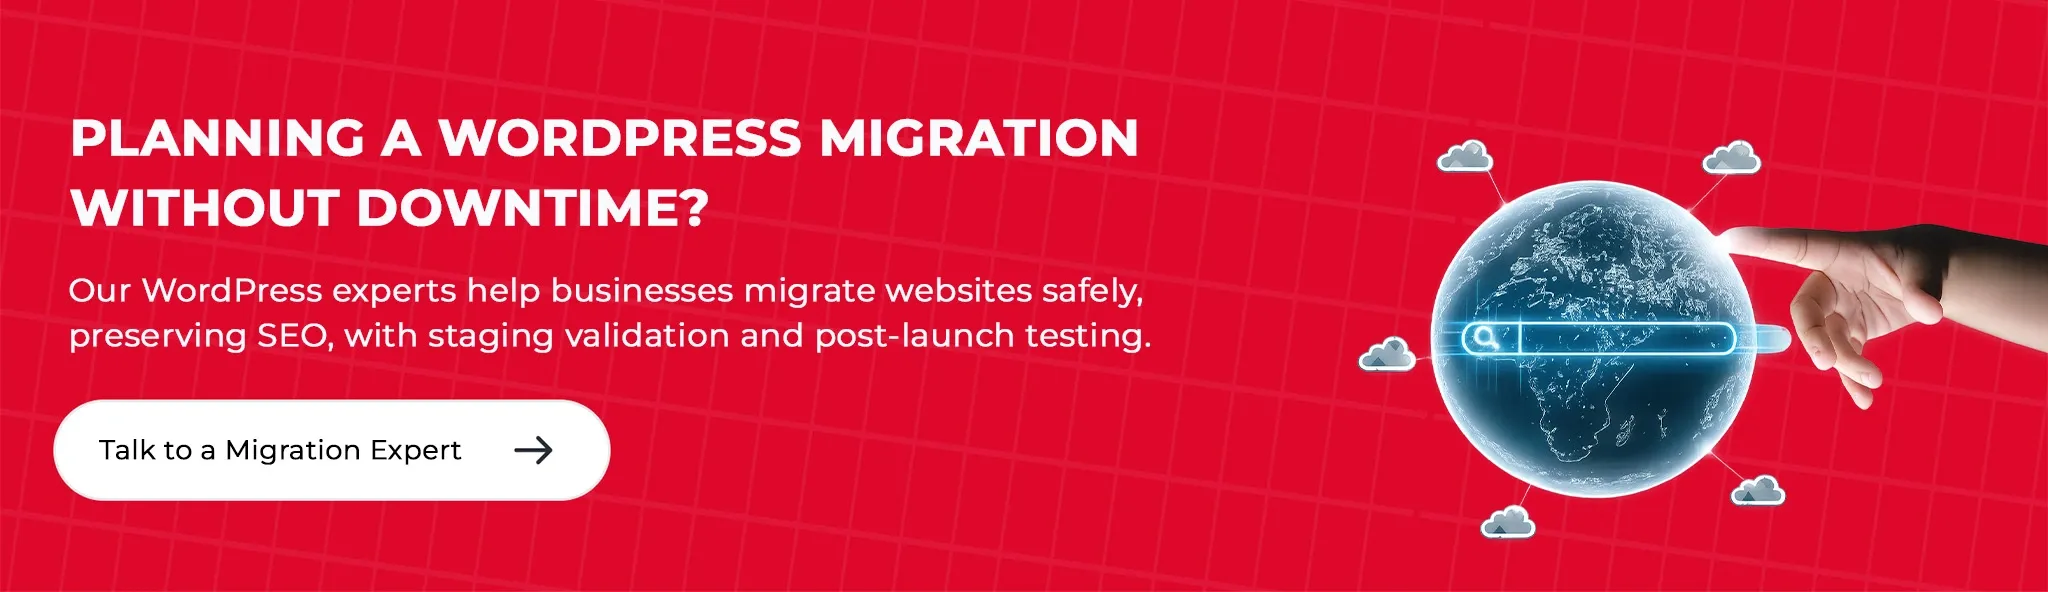
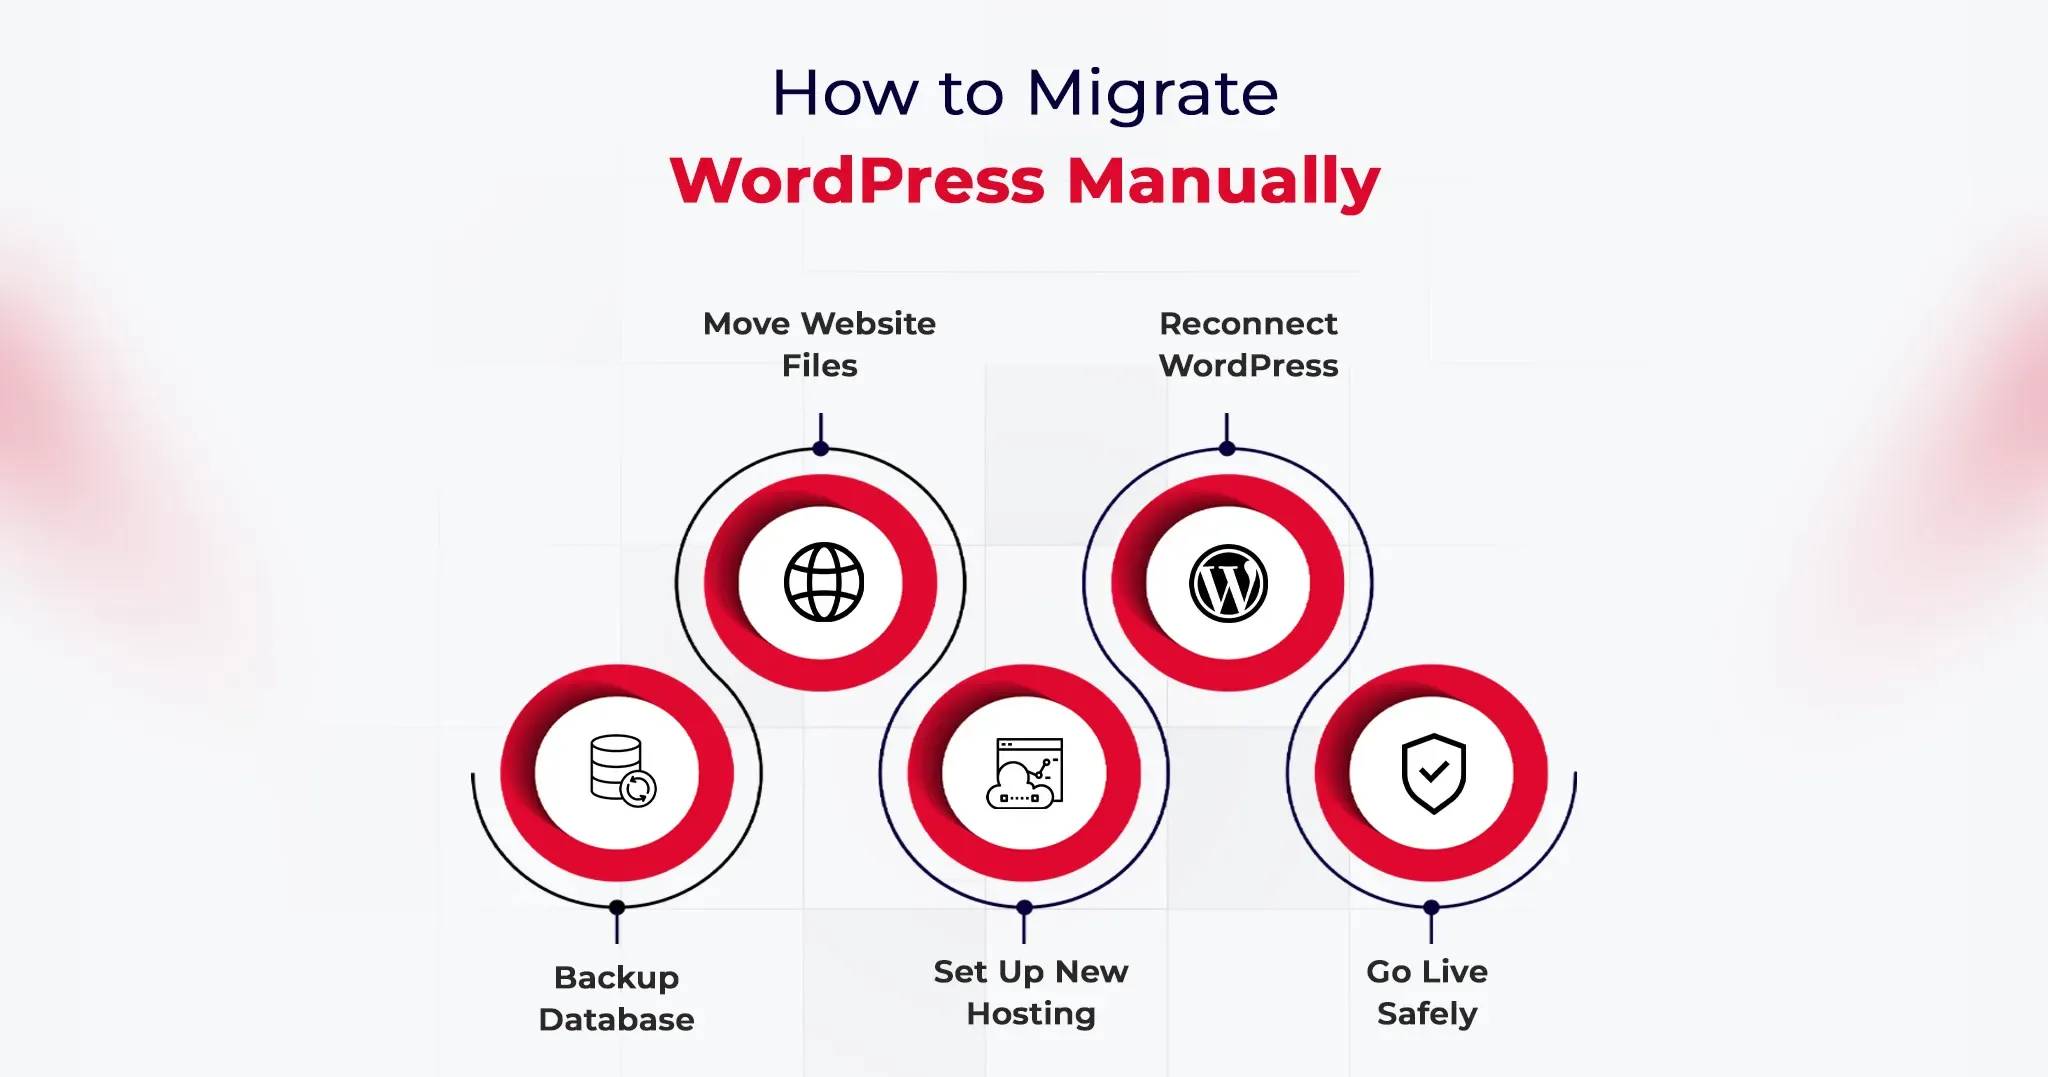
Manual migration covers the same destination as the plugin method but gives you direct access to every component of the transfer.
Step 1: Export Your WordPress Database via phpMyAdmin
Log in to your current hosting cPanel and open phpMyAdmin. Select your WordPress database from the left panel, click the Export tab, choose the Quick export method, set the format to SQL, and click Go. Save the .sql file locally. This file contains every post, page, user, plugin setting, theme option, and WordPress configuration your site holds. Back it up separately before importing to the new host.
Step 2: Download All WordPress Files via FTP
Connect to your current server using FileZilla or an equivalent FTP client. Navigate to your WordPress root directory, typically public_html or www. Download the entire directory including wp-content, wp-includes, wp-admin, and the .htaccess file. Download time ranges from 15 minutes for a lean site to over an hour for wp-content folders heavy with media.
Step 3: Create a New Database on Your Destination Host
On your new host’s cPanel, open MySQL Databases. Create a fresh database, create a user, and assign all privileges to that user. Record the database name, username, and password precisely. The WordPress site migration checklist requirement at this step is exact credential matching: a single character mismatch between your wp-config.php and the actual database credentials will produce a database connection error.
Step 4: Import the Database and Reconfigure wp-config.php
Open phpMyAdmin on your new host, select the new empty database, click Import, and upload your .sql file. Once imported, open wp-config.php in a text editor and update DBNAME, DBUSER, DBPASSWORD, and DBHOST to match your new database credentials. Upload the updated wp-config.php and all your WordPress files to the new host’s public root via FTP.
Step 5: Update URLs and Complete Your WordPress Site Migration Checklist
Navigate to your new site using the host’s temporary URL during the staging period. Run a database search-replace to update all instances of your old domain with the new one.
Better Search Replace handles serialized data correctly, which is critical for sites built with Elementor, Divi, or WooCommerce, where hardcoded URLs nest inside serialized arrays. Flush your permalinks by going to Settings > Permalinks and clicking Save Changes. That single action resolves approximately 90% of 404 errors that appear immediately after a manual migration.


![Migrate Your WordPress Sites: A Definitive Guide [Easy & Fast]](https://adminheadless-strapi.qewebby.com/uploads/wordpress_migration_guide_b100ba337f.webp)